
Ultimate 3D Printing Guide
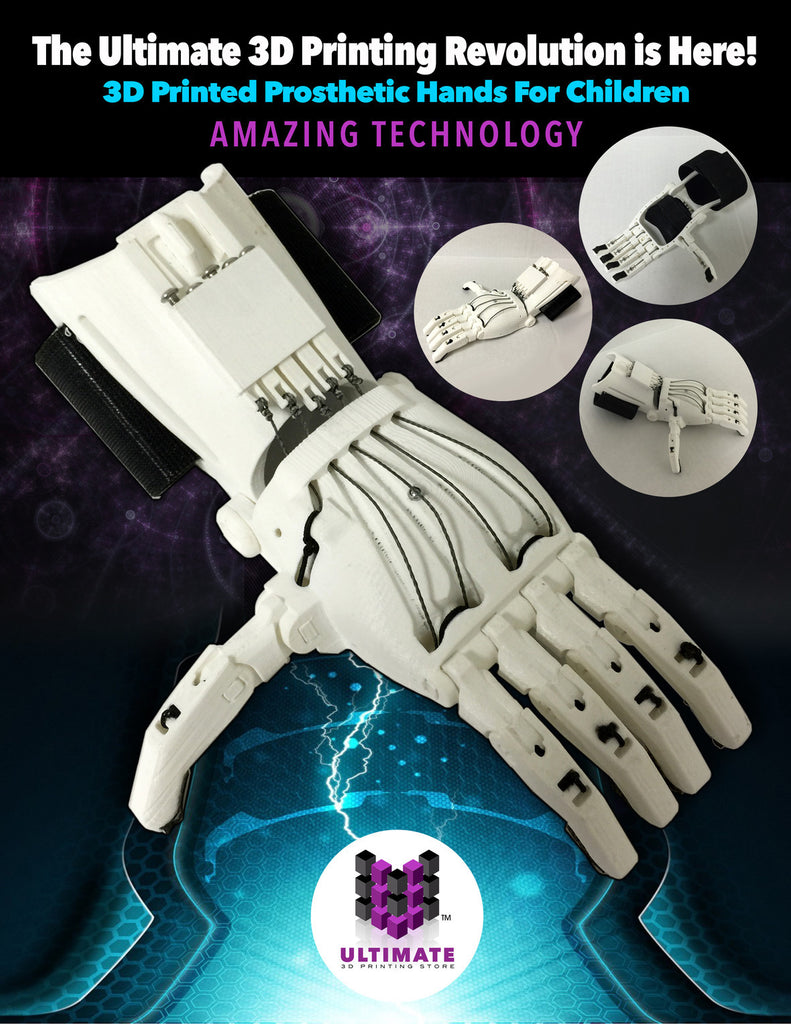
3D Printer Tutorial For Perfect 3D Prints

Table of Contents
- About
- Importing an Object
- Supports
- Layer Height
- Temperature
- Speed
- Retraction
- Overlap and Perimeter Shells
- Infill
- Rafts
- Pre-Extrusion
- Wall
- Brim
- Fans and Cooling
- Miscellaneous Settings
- Print Information
3D Printer Settings Guide
Slicer software is the application which generates code so that the 3D printer can understand and produce the object. This software also allows the user to alter and change a variety of settings to make them the optimal set up for the specific material that is being printed.
While all slicer software may not look the same, or even have the exact same settings available to change, follow this Settings Guide to understand what each of the many settings mean and how to use them.
Importing an Object

A CAD software is the application which creates the object that will be printed, but the object needs to be imported into a slicer software which will “slice” the object into layers so that the 3D printer can print the object, layer by layer. Most slicer software will either have a “Load” button that will open the files on the computer being used, or another way to import the file should be easily accessible.
Supports

When an object has overhangs, or gaps between areas of the object, then it can be complicated for a 3D printer to create it because objects are printed from the ground up – layer by layer. These are known as supports and these supports may seem messy based on the preview image rendered through the slicer software, but they actually allow for the object to be printed at a much higher quality.
There may be different types of supports that are available to choose (such as “linear supports” – in the photo – or “treelike supports”). Each support type has their own benefits and depending on the material that is being used, different support types may be better to use and easier to remove.
Layer Height

Because an FDM 3D printer uses filament to print an object layer by layer, the smaller the layer height, the higher level of quality and detail that can be produced. But, the higher the “resolution”, the longer that it will take for an object to be printed. The same is for a bigger layer height, it will print fast, but have a lower resolution.
A common default for the layer height is .3mm tall. This provides a fairly high quality print, at a pace which will not take forever to create an object.“Variable Layer Height” allows for there to be different layer heights in parts of the object.
Temperature
The temperature of the extruder and print bed are very crucial to produce quality results. While some 3D printers may not come with a heated print bed, others can heat up to high temperatures. Depending on the filament, the extruder and heated print bed can be set to a specific temperature. The filament will usually specify a range for the temperature which the print bed and extruder should be set. Be sure to check that the temperature for the extruder and print bed are not over the maximum possible temperature for the 3D printer.

Speed
Another important aspect of 3D printing is speed. A faster speed may allow for prints to be produced at an extremely quick rate, but slower speeds may be called for with specific filaments. Filaments such as PLA may have a default speed of 60mm/s, but can be sped up to a maximum of 200mm/s, or slowed down (to get a better quality) to 30mm/s. On the other hand, materials such as flexible filaments may not have as much leniency on the speed as PLA does. Flexible filaments, depending on the 3D printer, may need to be printed as slow as 10mm/s, or with other high-power 3D printers, be printed as fast as 30mm/s. The “Print Speed” is how fast the material is printed and the travel speed is how fast the extruder moves in-between areas of the object being printed (when not extruding any filament). 
Retraction
The setting known as “Retraction” is essentially the specific distance between the nozzle tip, and the filament in the extruder. A farther distance, or higher retraction, can help prevent problems such as filament oozing or filament stringing, but with retraction set too high, the quality of the printed object may decrease.

The “Retraction Rate”, also known as the “Retraction Speed”, is how fast the filament is pulled back away from the tip of the nozzle. If this setting was not existent, the filament would over-extrude, or come out of the nozzle too fast and in too high of a quantity than is needed for the object being printed. A common retraction speed is 30mm/s, though this can be raised or lowered depending of the filament.
Overlap and Perimeter Shells

The “Shell Count” is how many perimeter walls that the 3D printer will put on the object. Putting more perimeter walls will increase the strength of the object being printed and can also be beneficial when working with objects that will need to be placed in a high stress or impact resistant application.
Infill
The infill of an object is how solid (or hollow) the object will be printed. Raising the fill density will increase the infill, and weight of the object. Different infill patterns can be available such as triangle or hexagonal patterns.

Vase mode is an exciting feature which basically prints the object with 0% infill, or hollow (while still keeping the bottom few layers). This is perfect for…well, vases!
Just like the shell count, the top and bottom solid layers are how many full layers that will be printed before the object is at the point of the specific infill selected. A higher number of solid layers will also increase weight and strength.
Rafts
To help an object stick to the print bed, a raft can be printed under the object, then removed after the object is finished printing. The raft is basically a thick layer that is printed larger than the object being printed, so that it can be removed and disposed.
Usually, the default settings are fairly sufficient, but if the raft is too hard, or impossible to remove from the printed object, the “Space to Model” setting can be increased. This will increase the distance between the raft and object so that the object can be pulled off the raft easier.

Pre-Extrusion

The “Pre-Extrusion” setting allows for a line of filament to be printed around the object, allowing for any dripped or excess filament to be removed from the nozzle before the print starts. 3D Printer Settings Guide
Wall

A wall is mainly used for dual extruder 3D printers. Because both extruders are heated at the entire length of the print and only one extruder is used on the object being created at a time, the wall is used to wipe the nozzle.
This removes any oozing or dripping filament, when not currently in use. The default settings for a wall do not usually need to be altered.
Brim

If a top hat was the object being printed, a brim would be the – Brim! A brim can help prevent warping and increase print bed adhesion. Increasing the margin on a brim will increase the size the brim extending around the printed object.
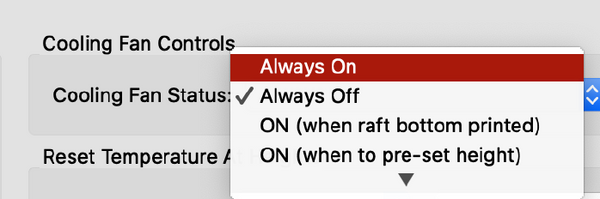
Fans and Cooling
For most basic filaments, leaving a fan on will help the filament cool fast enough in order to make a “bridge” on the object being printed. In some cases, with advanced filaments that tend to warp, it is important to turn off the fans completely.
Miscellaneous Settings
Other settings include the path width, path precision, and the extrusion ratio are also available for change. Even though they do not have their own section in the settings, each are still important, though they are not usually altered.
The “Path Width” setting is just like the layer height, but for the width of the filament being printed. The “Path Precision” is how precise the filament is being printed. Usually, it is better to leave this setting at its default. The extrusion ratio allows for the user to eliminate problems such as objects which look bloated because of filament that seems to be printed way too densely.

Print Information
The print information can provide the estimated length of time that it will take to print the object, how many meters of filament that the object will use, and the weight (depending on the filament) of the object.

This feature can be useful when calculating the exact cost the object takes to print, when the price-per-meter specification is available, for the roll of filament.